Patch Siding How Remove Nails Top Row

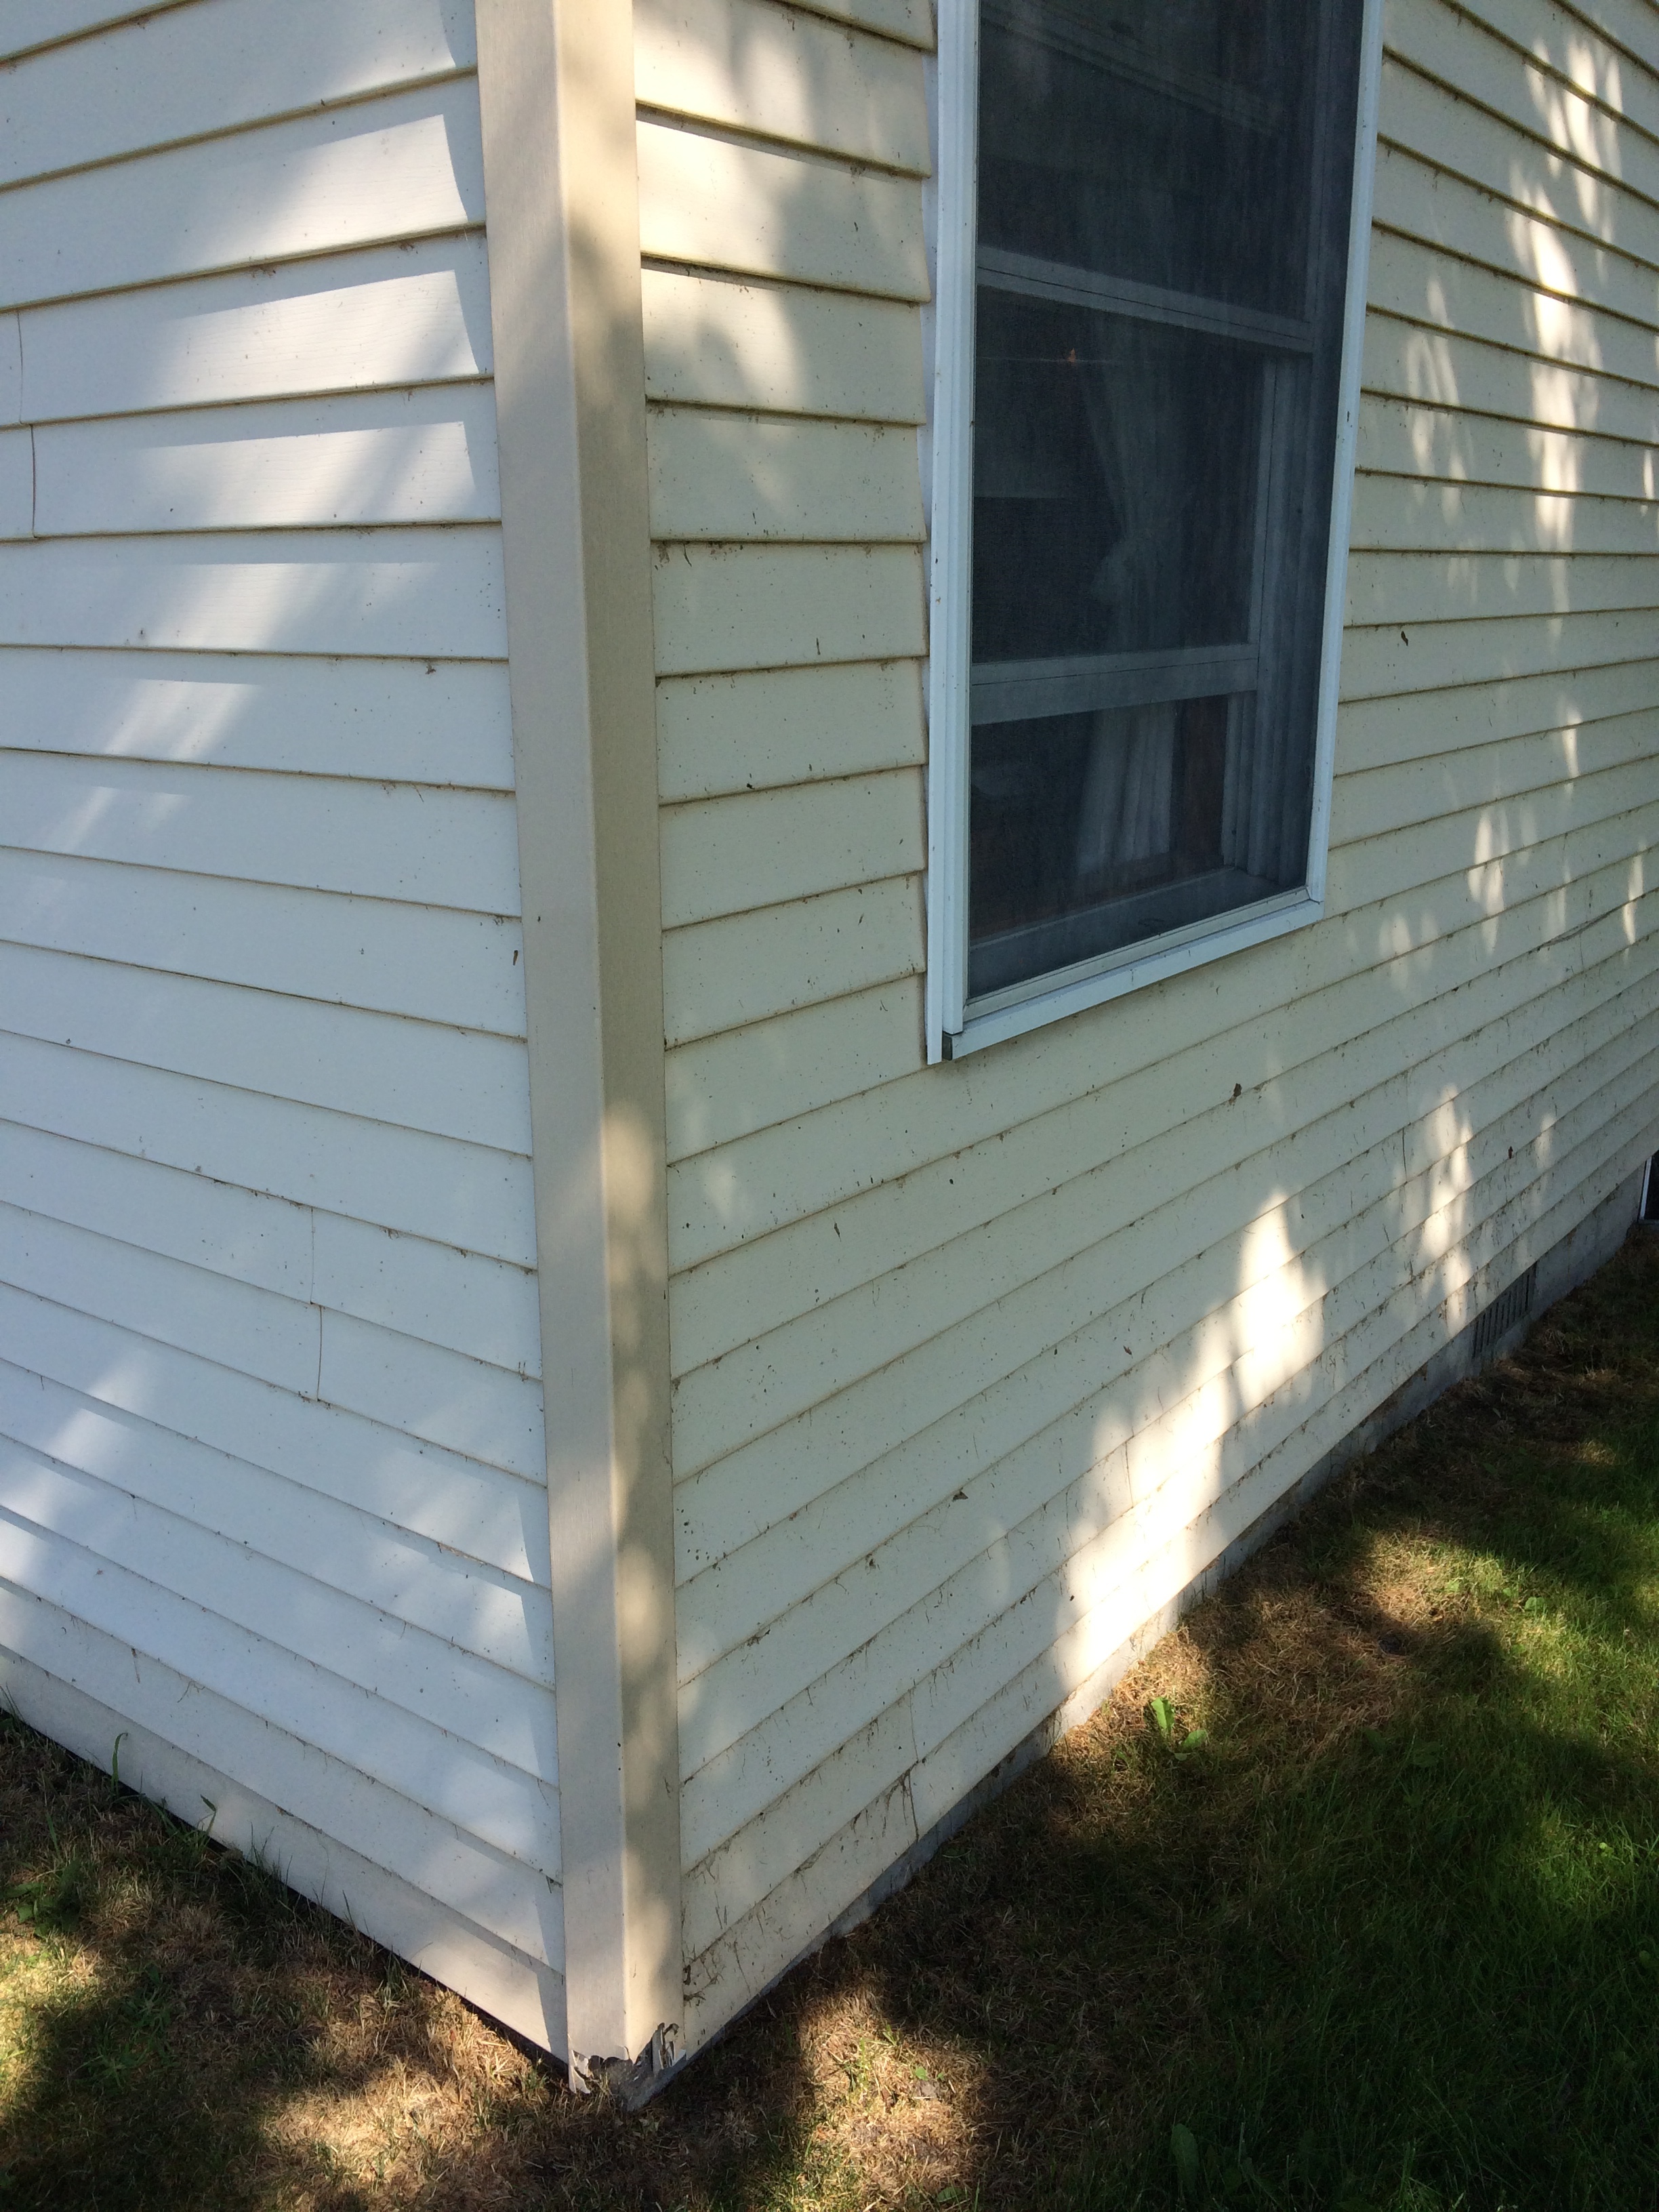
How To Replace Damaged Clapboards Old House Journal Magazine
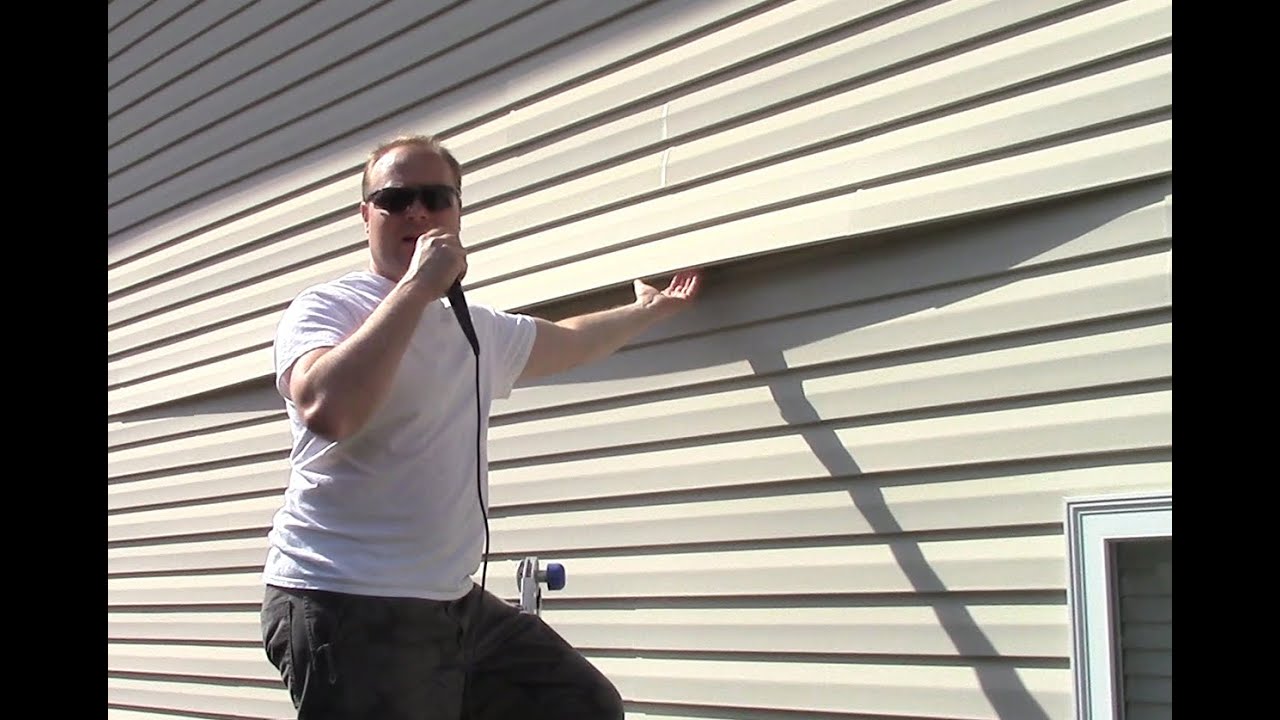
Loose Vinyl Siding Repair Youtube

How To Replace A Vinyl Siding Corner Youtube

How To Fix Loose Vinyl Siding Vinyl Siding Siding Repair Vinyl Siding Maintenance

How To Shingle A Shed With 3 Tab And Architectural Shingles Architectural Shingles Installing Roof Shingles Shingling

How To Install Vinyl Siding Youtube
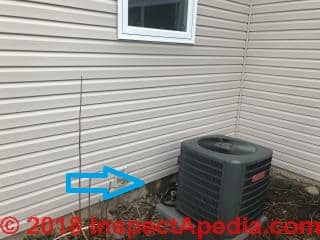
Remove any nails from the top piece of good siding.
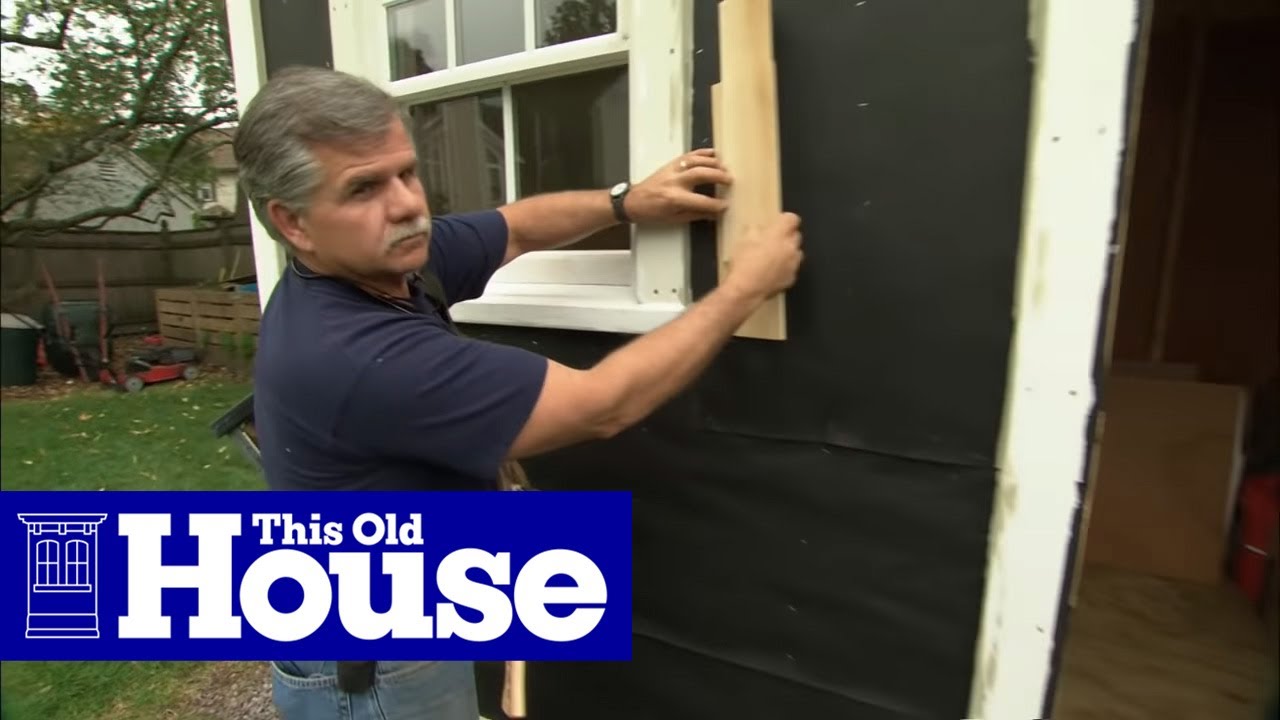
Patch siding how remove nails top row. Score down the damaged lap siding with a utility knife. Blind nail the fiber cement siding in place starting with the bottom piece. Cut a vinyl patch 4 inches 10 cm wider than the removed segment. An oscillating tool with a metal cutting blade works great for this or you can use a mini hacksaw with the blade extended beyond the end of the holder.
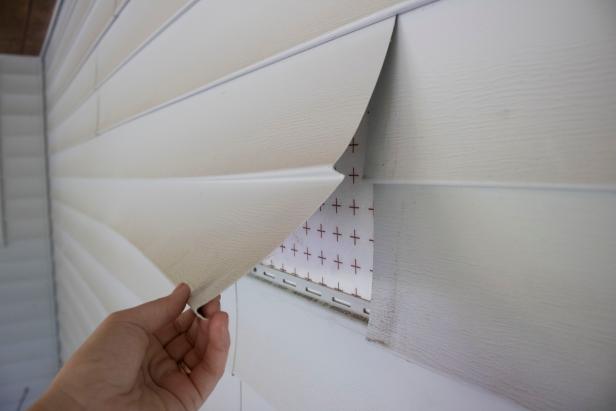
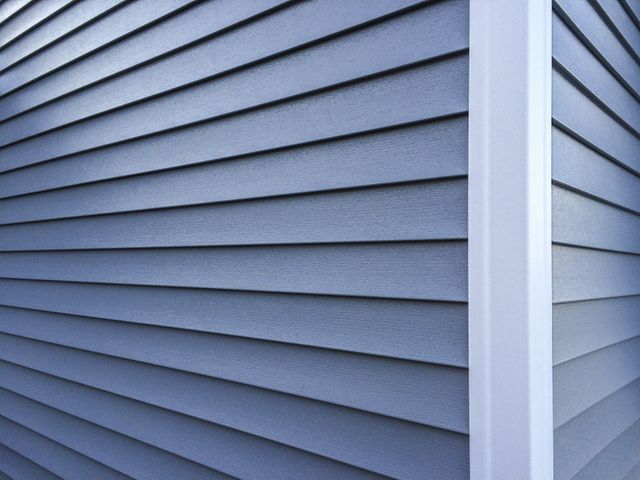
Hold the removed segment up to a spare piece of vinyl siding. Repeat until you re at the ground and then remove the surrounding trim. Cut the spare piece of vinyl along the marks using straight tin snips. Remove the nails one at a time to disconnect the entire length of vinyl.
Cut the fiber cement siding to length wear approved dust protection. Once all the nails are removed from the adjoining board the damaged one should just pull out. Measure and mark a point 2 inches 5 1 cm away from each side of the removed segment. Insert a pry bar between the piece of siding from which you want to remove the nails and the one above it.
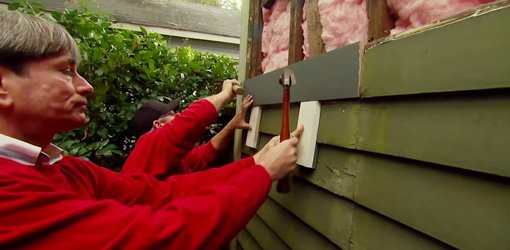
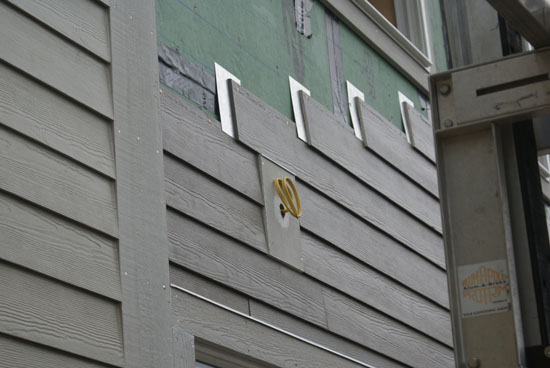
Remove the nails in the corner cap. Start by lifting an overlapped piece of vinyl on the top row. Use a pry bar to remove the damaged siding. Remove the nails on the lap board then use the claw of the hammer to split the board down the center image 1.
Push the siding downward to remove it from the piece below it. Place the palms of your hands on the siding and apply downward pressure until the piece pops free. After you remove the nails from the top of the piece of siding it is still hooked to the piece below it.

Shingle Roof Repair Hide Nails By Placing The End Of The Pry Bar Over Them And Hitting It Farther Down The Shank Of T Roof Repair Roof Restoration Roof Damage

Vsi Best Practices Finishing At The Top Of The Wall Youtube
How To Safely Remove Vinyl Siding Hgtv
Replace Vinyl Siding Corner

Fiber Cement Siding Repair A Quick Guide For Homeowners
How To Repair Vinyl Siding Modernize
How To Replace Damaged Wood Lap Siding Today S Homeowner

Pin By Kyle Roberts On For The Home Masonite Siding Siding Repair Hardboard Siding

Create Natural Ventilation In Your Attic By Installing A Ridge Vent Ridge Vent Natural Ventilation Roof Repair Diy
/cdn.vox-cdn.com/uploads/chorus_asset/file/19489511/wood_siding_2_00.jpg)
Patching Wood Siding This Old House

Pin On Installing Shingles

Install Vinyl Trim Around Windows Vinyl Siding Installation Installing Siding Vinyl Siding

How To Install Lp Smartside Trim Siding Products Youtube

Firestone Epdm Rubber Roofing Installation On A Flat Roof Youtube Epdm Rubber Roofing Rubber Roofing Flat Roof

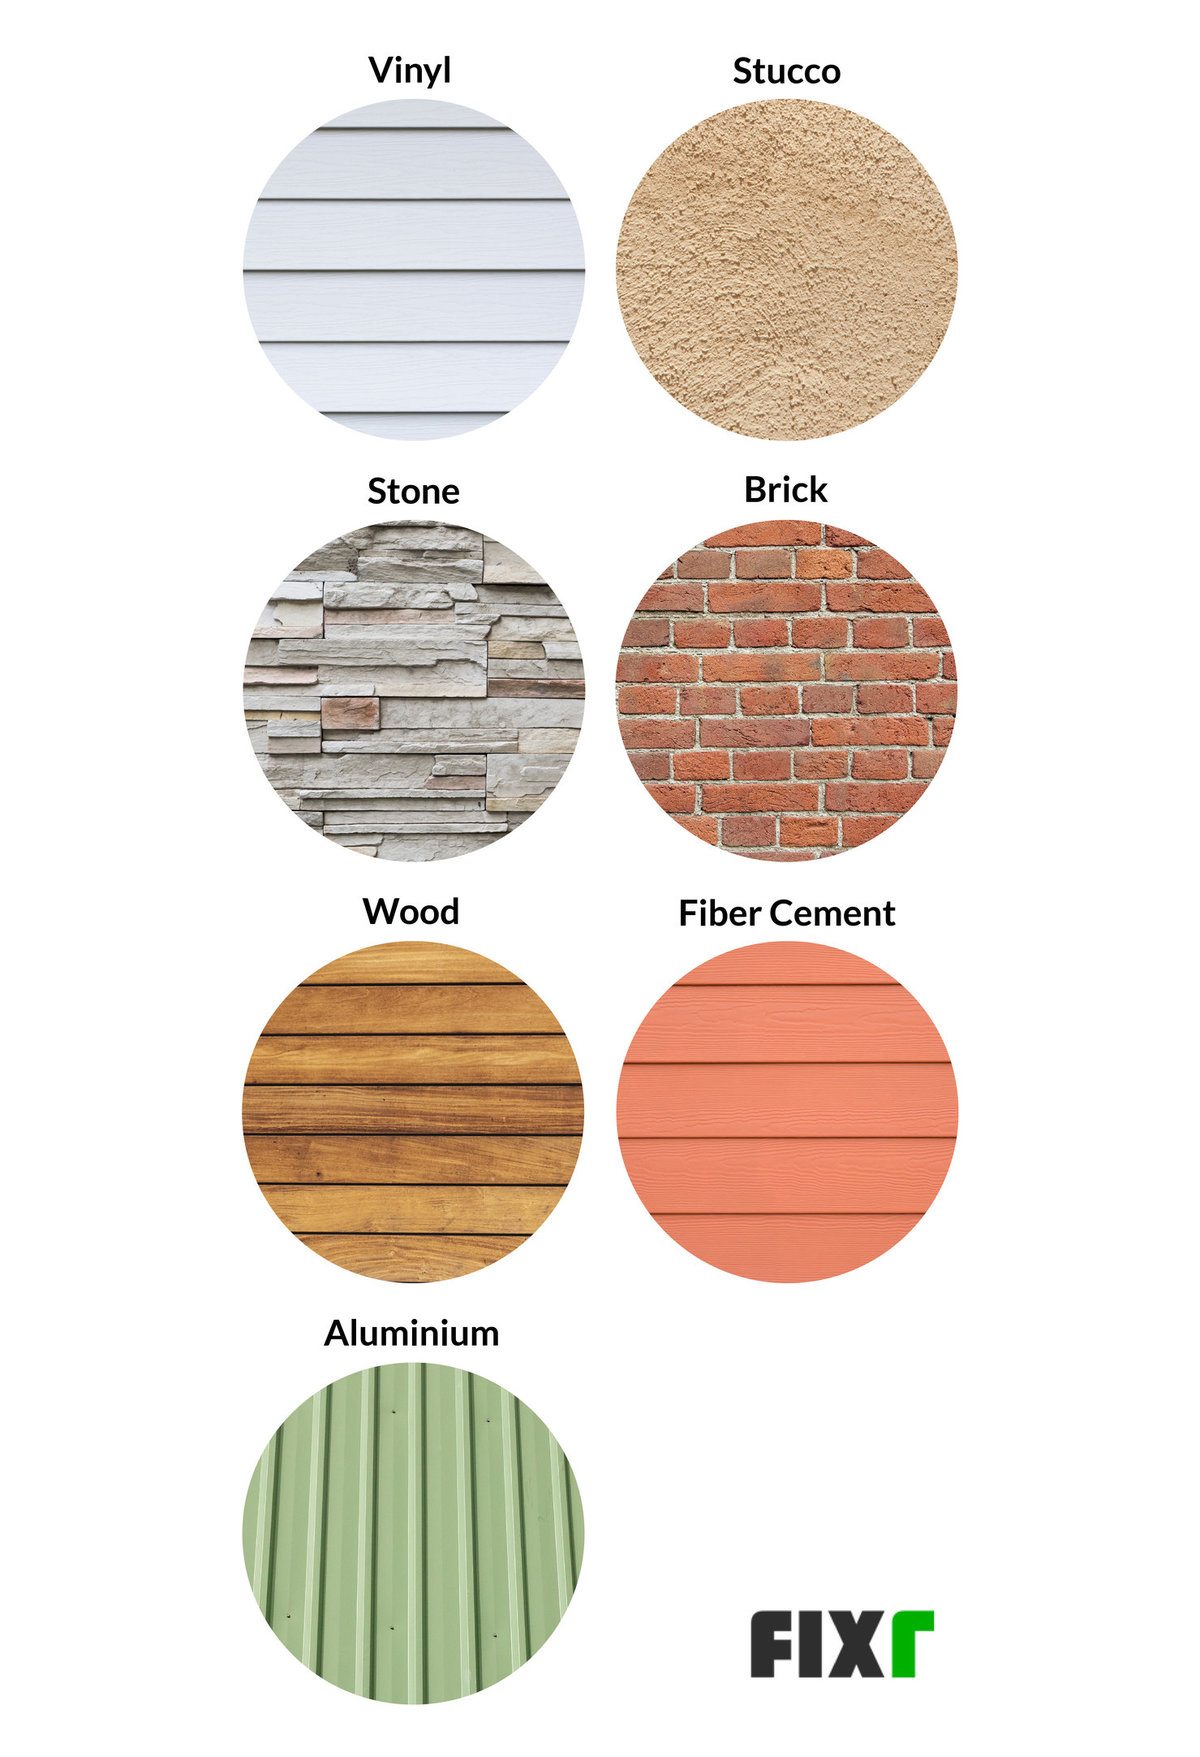
Siding Buying Guide
How To Cut And Install Fiber Cement Siding This Old House Youtube
2020 Cost To Repair Siding Vinyl Wood Aluminum Siding
Replacing Logs Half Logs Whole Vertical Turned Crowns And More Edmunds And Company
Https Encrypted Tbn0 Gstatic Com Images Q Tbn 3aand9gcsgvrhrc3sedet8a8 De1hbycgadlr0oqkck4v7ok93engwczhd Usqp Cau
Does Hardiplank Require Caulk At The Joints Exterior Inspections Internachi Forum
How To Tarp A Roof For Temporary Roof Repair

Wall Bracing Home Owners Network Framing Construction Door Header Wall

Before After Exposing A Brick Chimney Under Plaster Walls 17 Apart Before After Exposing A Brick Chimney U Brick Chimney Fake Brick Wall Exposed Brick
Siding Leak Troubleshooting Diagnose Repair Or Prevent Leaky Siding
Https Www Mansfieldtexas Gov Documentcenter View 2232

Products

How To Replace Fiber Cement Lap Siding Boards Doityourself Com

Pin On Power And Hand Tools

How To Repair Shingle Siding This Old House

Using Vinyl Beadboard Soffit For Porch Ceilings

How To Repair And Maintain Hardie Plank Siding Pinon Painting

Painting Siding Preparation Hunker

How To Roofing Capping And Installing Ridge Vent Ridge Vent Building A Shed Roof Building A Storage Shed

Amazon Com Zincshield Pure Zinc Strip To Avoid Ugly Roof Stains From Moss Algae Fungus And Mildew 50 Foot Roll 2 5 Includes Bag Of Zincshield Nails Made In The Usa Garden

Create Natural Ventilation In Your Attic By Installing A Ridge Vent Ridge Vent Natural Ventilation Roof Repair Diy
/cdn.vox-cdn.com/uploads/chorus_asset/file/19616356/repair_vinyl_side_x.jpg)
How To Repair Vinyl Siding This Old House
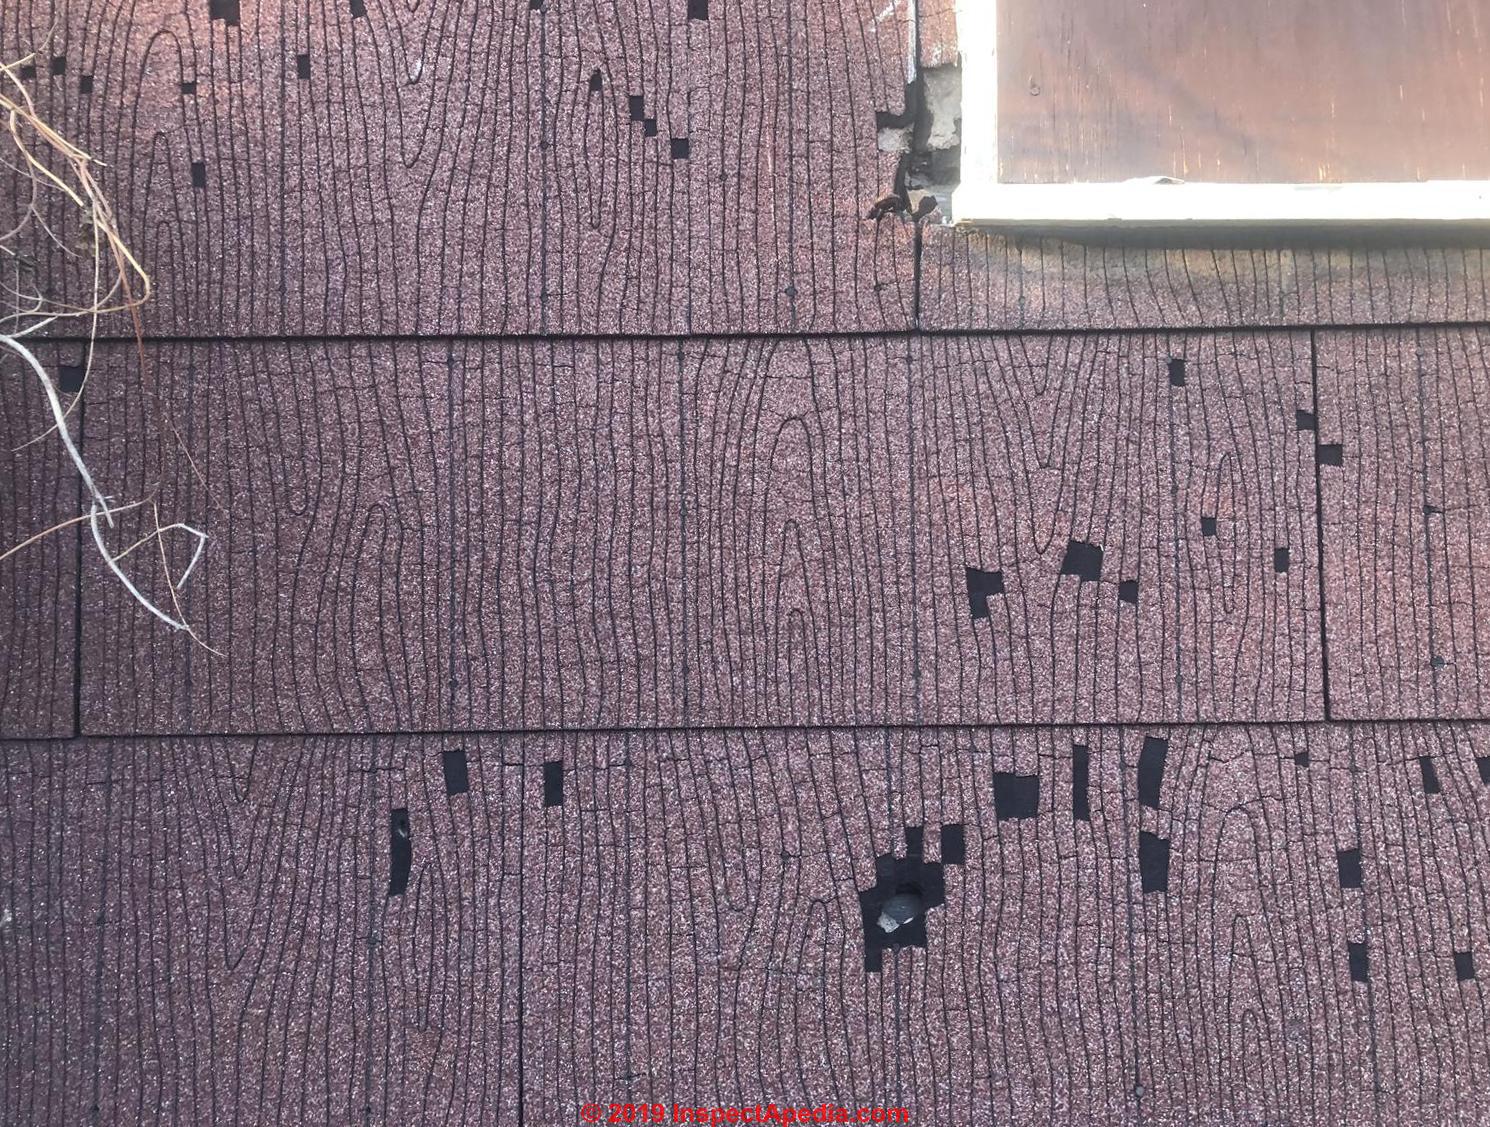
Asphalt Siding Photos Asphalt Building Siding Concerns Inspection Defects Repairs Advice

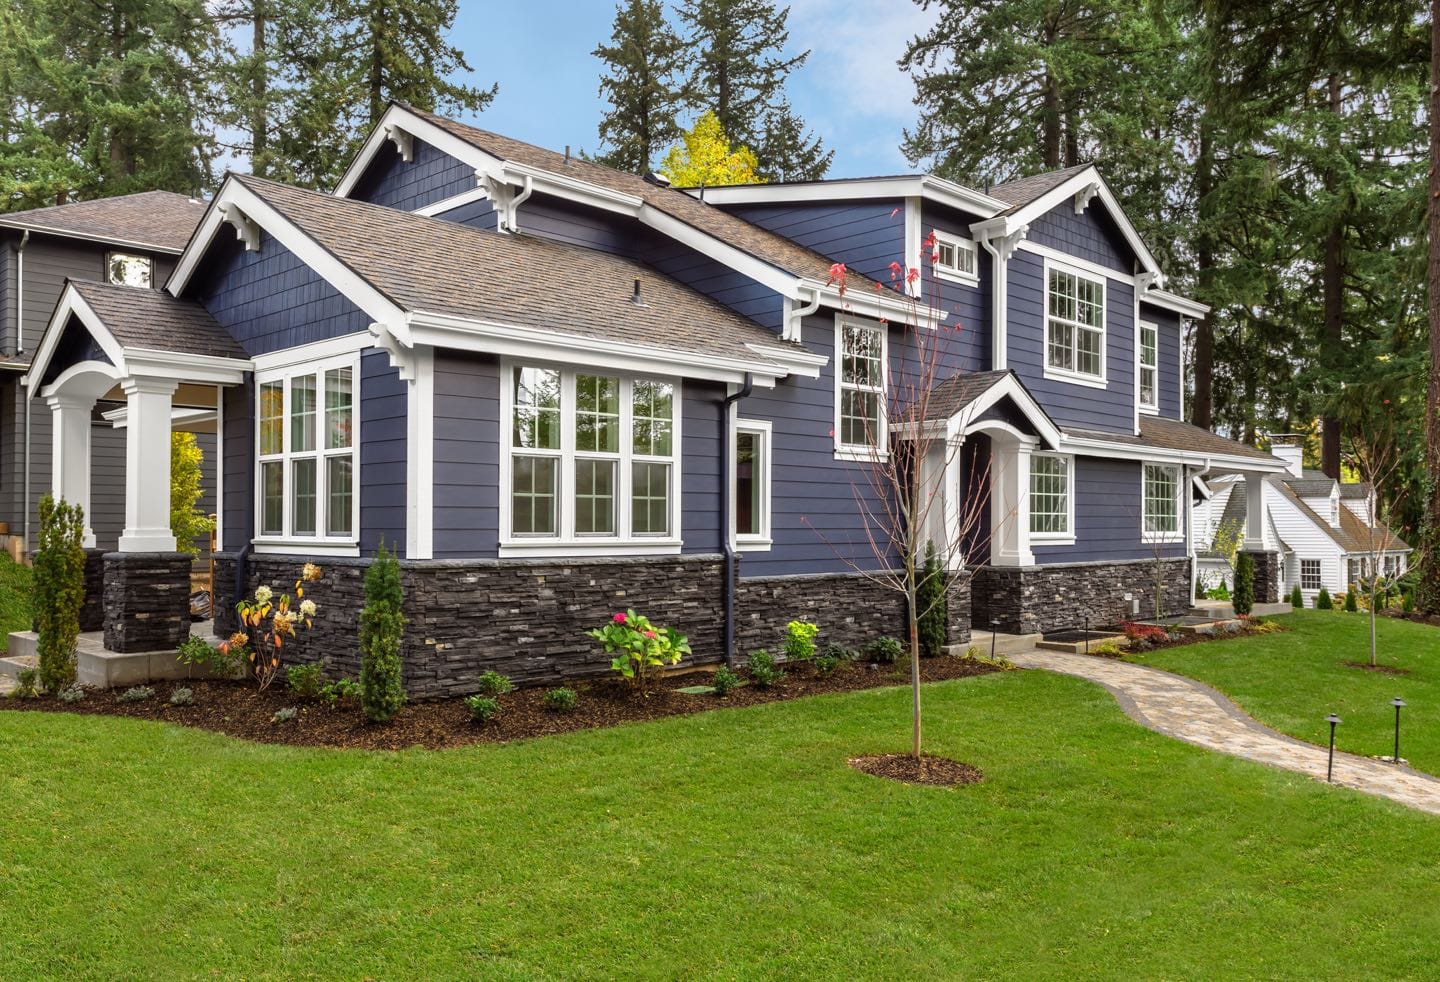
Modern And Stylish Exterior Design Ideas Color Pinterest House Paint Colors And Victorian Homes

How To Install Wood Shingles This Old House Youtube
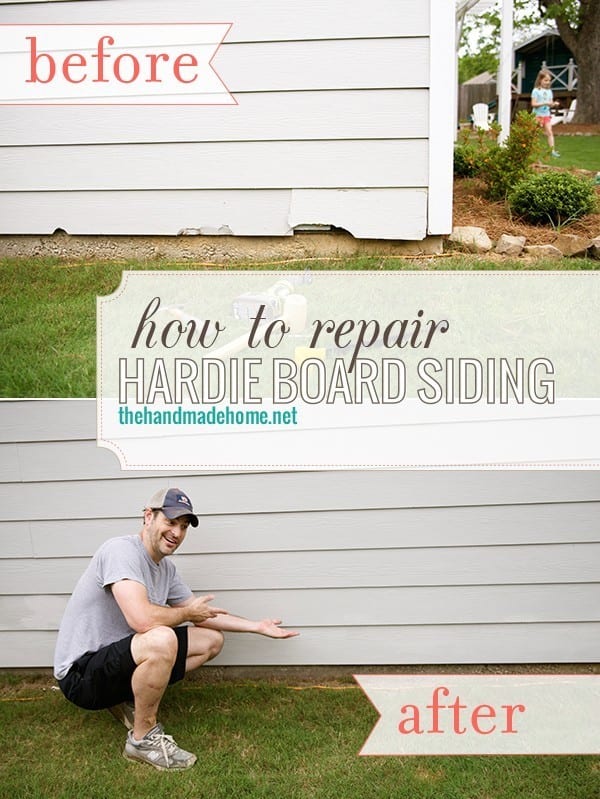
How To Repair Hardie Board Siding The Handmade Home

Oops The 10 Most Common Roofing Mistakes

Wall Flashing Techniques For Leakproof Walls